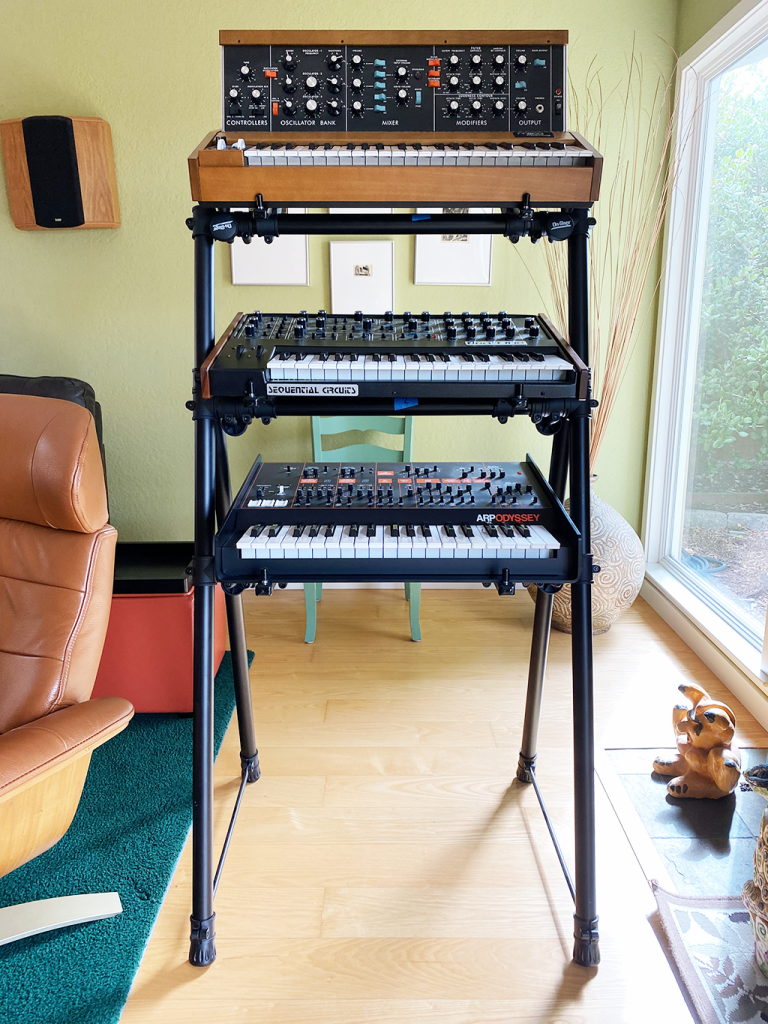
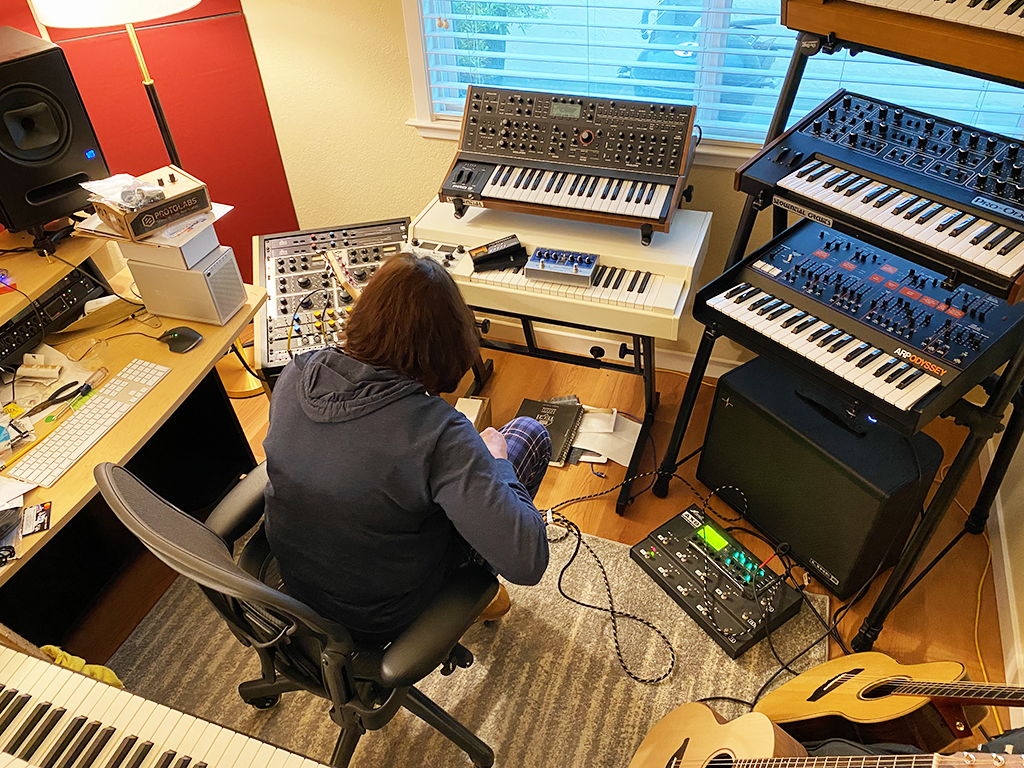
I worked for more than 17 years at Dave Smith Instruments/Sequential. For much of that time, Joanne and I worked at home. Over time, our house became more of a workplace and less of a home, so we eventually got a small office in Half Moon Bay, CA, where we were living.
For the first 13 of those 17 years, I had a dedicated workspace, but not a dedicated playing/listening space. I spent a lot of time in not-great headphones. I had a pair of KRK Rokit 6 powered monitors that got used while on “vacation” or working remotely, but I didn’t have a space or monitors for doing critical listening. (Not knocking the KRKs. They are very useful to this day, even though I have better monitors.)
In 2020, just 4 years before we retired, Joanne let me take over the bedroom that had belonged to our daughter, Alex, who had moved out several years earlier. I don’t remember the exact dimensions, but I think the room is about 9′ x 11′ with an 8′ ceiling, a 4′ x 6′ window in one wall, and a closet with bifold doors in the opposite wall. About 100 square feet and not a lot of available wall space. Pretty standard for a small, ’70s tract home. Many, many people have faced the challenge of building a project studio in a space like this.
Among the (too) many things I wanted available to me in the room were three mono synths: a Minimoog Model D reissue, a Korg/ARP Odyssey FS, and my Pro-One, one of two Sequential Circuits synths I still had from my time working at SCI. (The other was a Rev 2 Prophet-5, which I have since given to a coworker at Sequential.)
Horizontal space was at a premium. I clearly needed to find a vertical solution. I already had a couple of 2-tiered stands for larger instruments. I had some old A-frame stands that I was not using, but they took up too much horizontal space.
Then I started to wonder how difficult it would be to cut the tubing to make a sort of mini A-frame. I considered using a hack saw or my reciprocating saw, but then I discovered a tool called a tube cutter or pipe cutter.
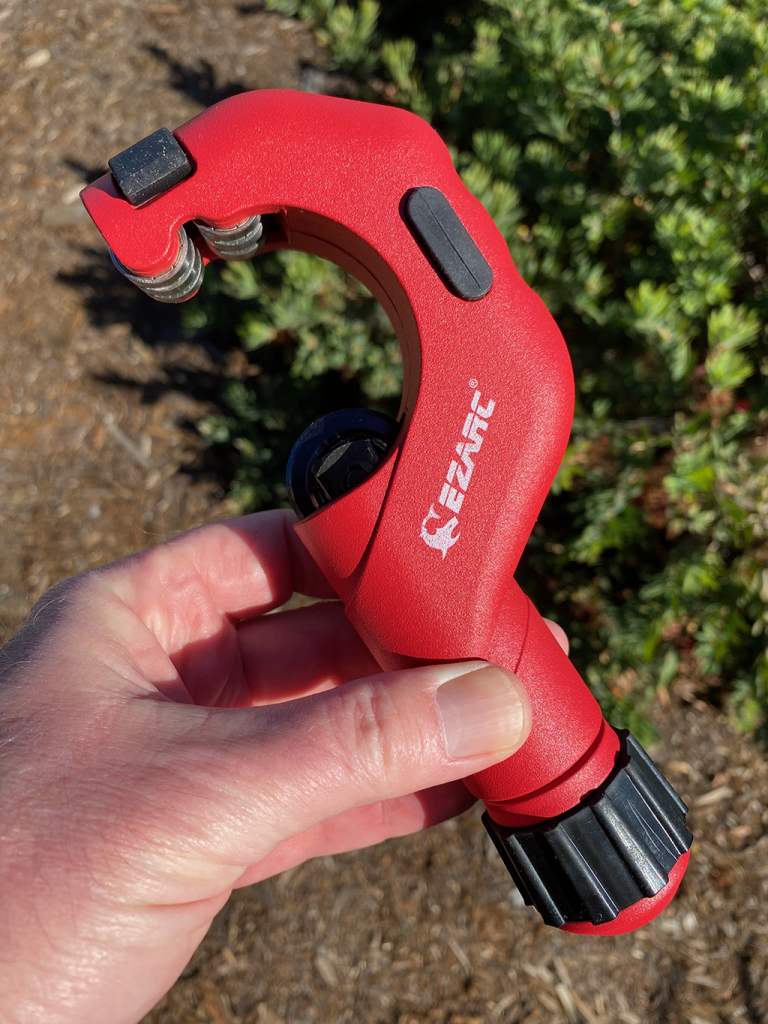
They’re not super cheap, but can be found on Amazon for around US$25 and do a great job of cutting the extruded aluminum tubing used in most (all?) A-frame stands. Just make sure its cutting range is suitable for the outer diameter of the tubing, which is typically 1.5″, I think.
There are a bunch of videos on YouTube showing how to use this tool and it’s very easy to make a nice, straight cut. However…
IMPORTANT SAFETY ADVISORY
After cutting the tubing, the cut end of the tube will likely be sharp and have a burr, a rough ridge of metal on the inner edge of the tube. If you value your fingers, WEAR GLOVES while cutting and handling the tube. Heavy work gloves. Seriously. Until the tube is deburred, it is very easy to cut your unprotected hands. Thankfully, aluminum is a relatively soft metal so, to deburr the tube, use an aluminum oxide sandpaper of 120 to 220 grit to blunt the cut edge. Take your time and carefully remove the burr. And did I mention wearing gloves? If you have any anxiety about this, don’t do it! I am not responsible for loss of blood or missing digits.
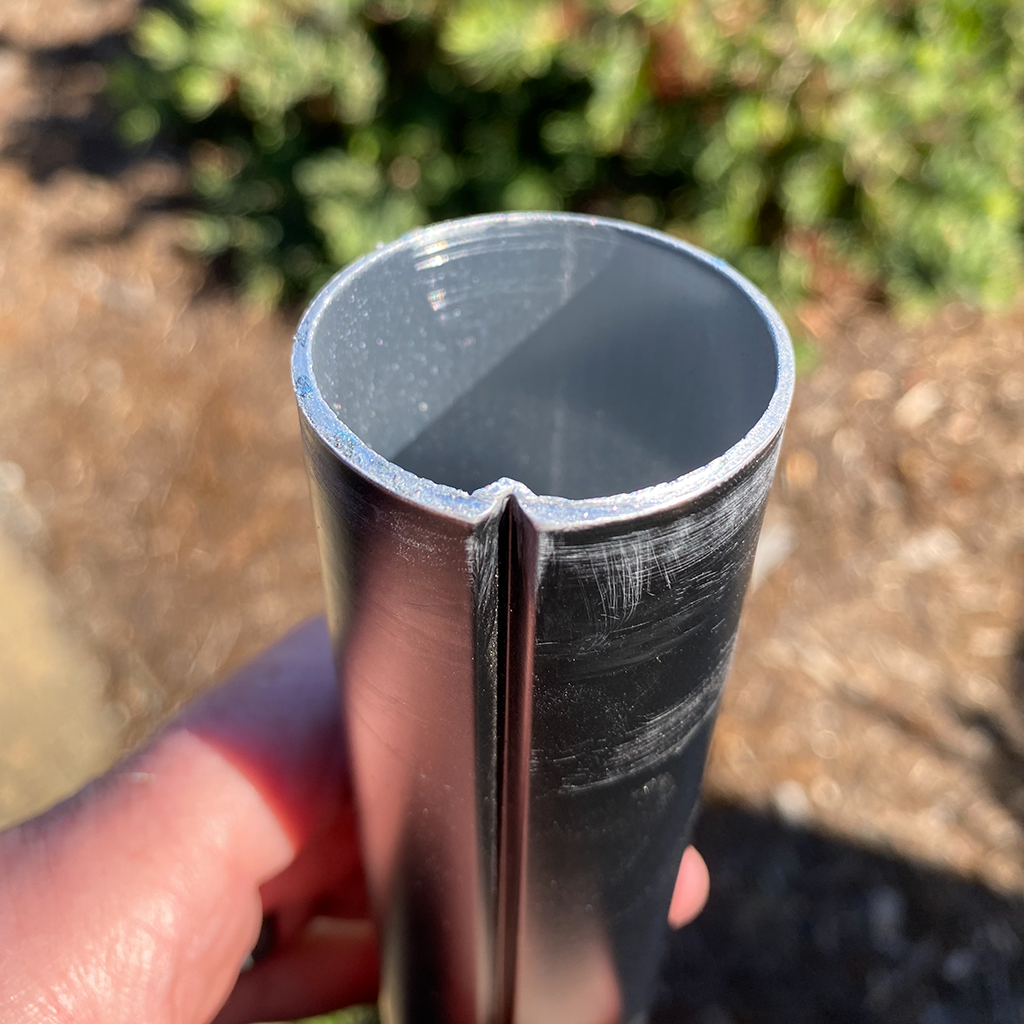
Now that that’s out of the way, if you’re a handy, DIY sort of person, it’s very easy to do. And, if you’re like me, it’s a great way to reuse those old A-frame stands that you trip over regularly but can’t seem to bring yourself to get rid of. (Full disclosure: It still took me another 4 years to get rid of the excess tubing I trimmed off. And I only disposed of it then because we were moving.)
A tip: That old saw, “Measure twice, cut once” definitely applies here. You can always make the tube shorter; you can’t make it longer. Make sure you take the assembled dimensions into account when you’re measuring, including the brackets that attach the horizontal tubes to the frame and the tubing that inserts into the brackets. I put painter’s tape on the tube and made a mark on the tape where I wanted to cut. I think it took less than an hour to cut and deburr 4 tubes and the cuts were cleaner, straighter, and a lot less messy than if I had used a handheld saw or grinder.